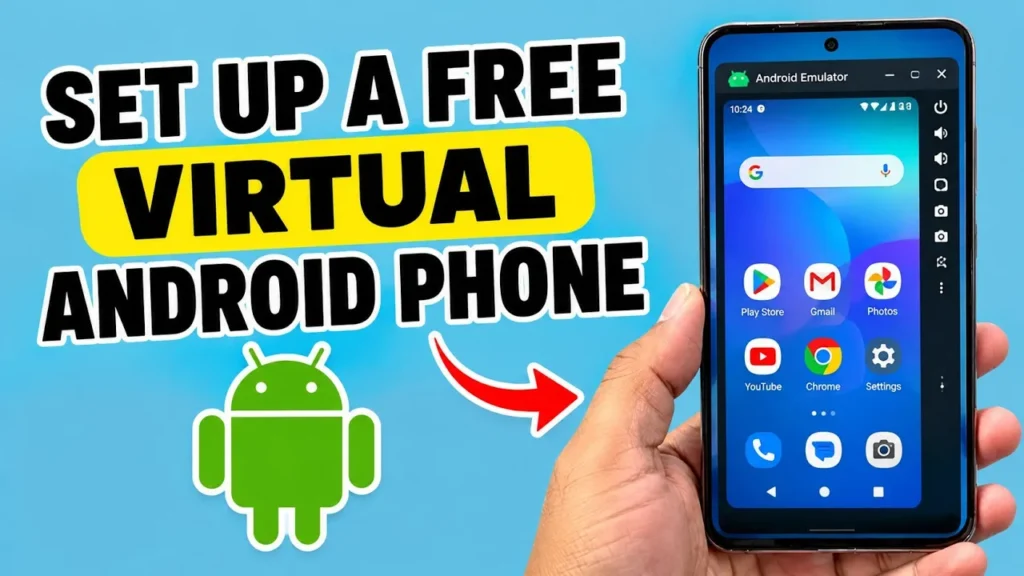
With an on-device Android emulator app, you can spin up a complete virtual Android phone right on your existing phone – no extra gear needed.
This setup gives you total peace of mind – no need to mess around with a PC or get root access – whether you want to mirror some social media accounts, test out some dodgy apps in a safe space, or futz around with advanced settings without risking your primary device.
We are going to use the Virtual Master app to walk through the whole process in the steps outlined below in this guide.
Benefits of Using a Virtual Android Phone
Privacy & Safe Sandbox: You can keep all your contacts, personal info and storage completely separate. Any apps you install in the virtual world stay there and don’t mess with your real phone data.
Using multiple instances of productivity apps: games or messaging apps with different logins make it easy to clone those apps you use all the time.
No Rooting or PC Needed: The whole thing is controlled from an app on your regular phone – you don’t need to mess around with desktop emulators or custom ROM installs.
Step 1: Install Virtual Master
First off, get Virtual Master up and running
Head on over to the Google Play Store on your device – look up Virtual Master and grab the app.
Step 2: Getting Child Process and Developer Options Sorted
With newer versions of Android, there’s a limit on background processes, which can cause issues with virtual machines; they can just shut down. To stop that from happening:
To get into Developer Options, head to your Settings > About Phone on your device – don’t forget to tap on the Build Number 7 a few times.
Next, jump into Developer Options and follow the prompts to get any pairing or Child Process Restrictions sorted. This lets the virtualisation engine have the permission it needs to run smoothly in the background.
You can watch how to enable Developer Options in the video below:
Step 3: First, go get a ROM & set up the virtual machine
When you open Virtual Master, you will need to pick the option to create a new virtual machine.
When you do that, pick an Android system version (ROM) that’s to your liking.
After downloading the system image, you can then import it into Virtual Master; it’ll automatically extract and configure the ROM files for you.
Step 4: Get Your Virtual Phone Set Up
Take a sec to get some key things sorted before you even turn it on for the first time:
Make sure Floating Window Display has the “Display over other apps” permission switched on. This lets you switch seamlessly between your main phone and the virtual one by keeping the virtual phone running in a little window on top of your real apps.
And – Google Play Services – before you dive in, if you plan to download any apps from the Play Store within your virtual machine, flip the Google Services / GMS switch in the settings to get it ready to go.
Step 5: Boot the Emulator & Import Apps
Give your new virtual phone some juice by hitting the power button – it should come to life in just a few seconds. You’ll be greeted by a clean, fresh Android desktop, completely detached from your physical device.
From here, you’ve got a couple of ways to add some apps:
Import Existing Apps: Use the app import tool to quickly copy those APKs from your real phone over into the emulator.
Direct Download: Sign in to your Google account on the virtual Play Store and download whatever apps catch your eye right into the sandbox.
Practical Navigational Tips
Floating Ball Controls – You can use the floating overlay icon to pretty quickly shut down, restart, resize or even just nix your virtual phone. Just give it a tap.
Resource Management: We all know the drill – the faster you shut down this emulator when you’re not using it, the less battery life it’ll suck out of your phone and the more RAM you’ll have free for the real thing.
View the Detailed Video Guide
Want to get a better feel for things? Check out our in-depth YouTube tutorial where we walk you through every single one of the screens and settings we’re talking about here.
How to Setup a Virtual Android Phone on Android (Android Emulator App)